Free Shipping on Orders Over $100
How to Install Running Boards
Updated on Oct 21, 2025
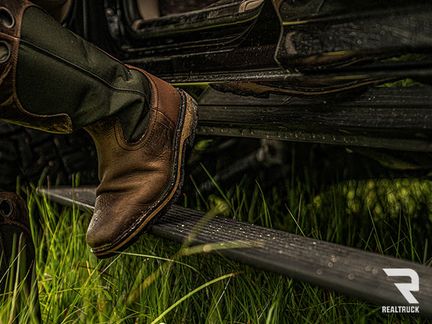
A good set of running boards can make your truck much easier to enter and exit, not only for you, but for your friends, loved ones, and even the family dog. This installation guide will help you get a new set of running boards on your truck in no time, giving you a secure, non-slip way to get into and out of your truck cab. This installation covers our Ionic 61 Series Running Boards, but installation is similar on many other boards and bars. Check out RealTruck’s YouTube page for helpful videos on step installation for different step types for all makes and models. Note: While we used a lift to bring you the best pictures of the installation process possible, this installation can be done in your driveway using a creeper, padded mat, or even a sturdy piece of cardboard.
1. Ratchet and Socket Set
2. Box End Wrenches
3. Safety Glasses and Gloves
4. Creeper (optional)
Step 1: Install Bolt Plate into Factory Holes
This piece allows the brackets to be fastened securely without requiring drilling.
Step 2: Attach Front Brackets with Provided Hardware
Leave these brackets finger-tight for now as they may require adjustment later.
Step 3: Repeat Process for Center and Rear Brackets
Number of brackets will vary according to your truck's year, make, model, and cab size.
Step 4: Repeat Process for Center and Rear Brackets
Threaded portion should face down when the board is placed on the brackets.
Step 5: Place Board on Brackets
Make sure running board bolts align with bracket slots.
Step 6: Feed Bolts Through Slots on Brackets
Perform this step on each set of brackets.
Step 7: Attach with Provided Hardware
Leave finger-tight at first for ease of adjustment before final tightening.
Step 8: Tighten Brackets to Truck and Board
Once satisfied with the board's position, tighten bracket and board bolts down.
Step 9: Repeat Other Side
Complete the previous steps on the opposite side of the vehicle.
Step 10: Enjoy Your New Running Boards
Periodically check your hardware and re-tighten as necessary.
Have questions? Contact our product experts. We're here to help.
Shop Now
RealTruck is your home for the best products to outfit your build for unforgettable adventures.
See More Running Board Articles Here...
Join over 2 million RealTruck people
Get exclusive savings, insider information, and the latest RealTruck articles sent straight to your inbox.


