- Top
- description
- details
- install
- warranty
- reviews
- Q&A
description
- Easy, 4 step process
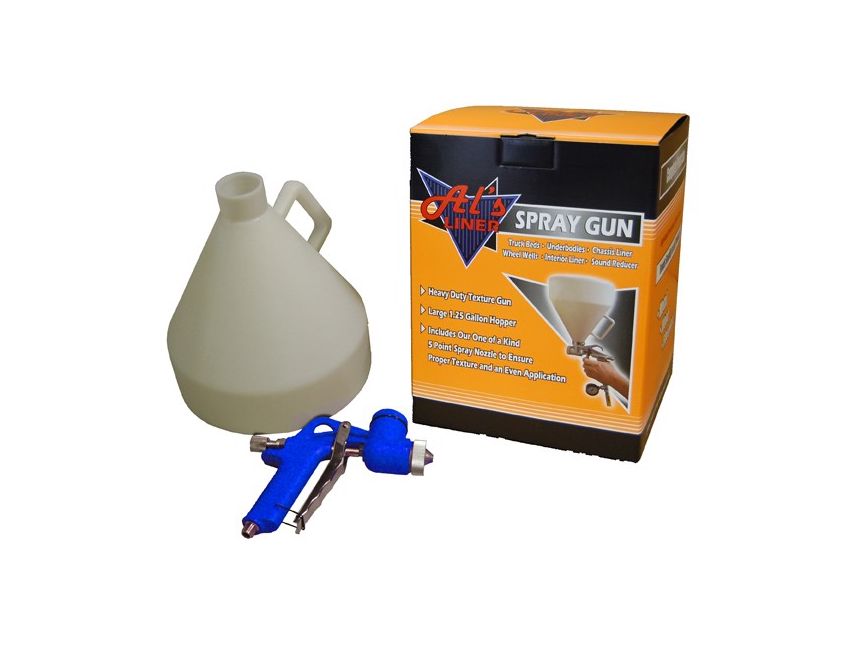
- Optional spray gun sold separate
- Heavy duty protection
- Available in 3 colors
- Set your own thickness & texture
- Spray any place that needs protection
- Optional brush and roller kit sold separately
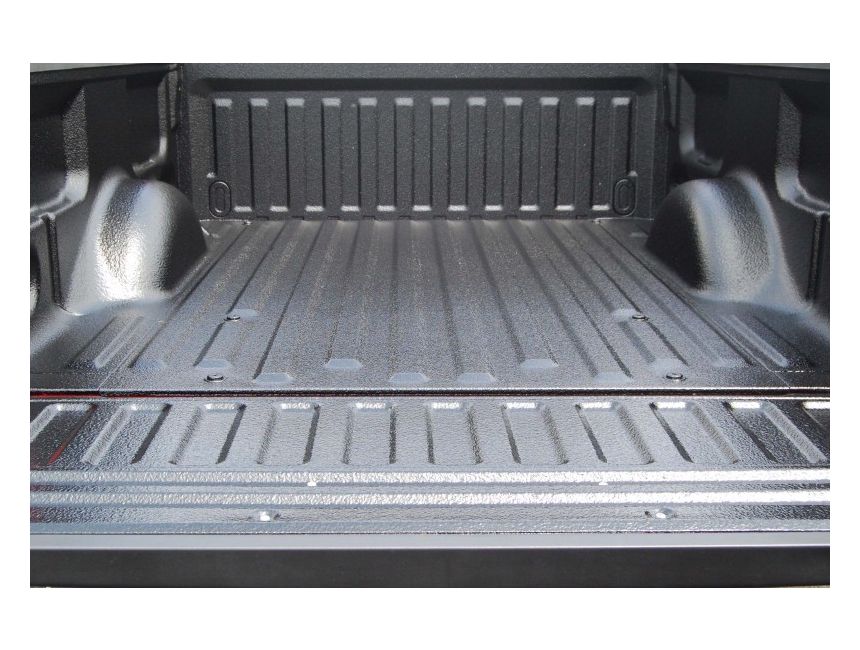
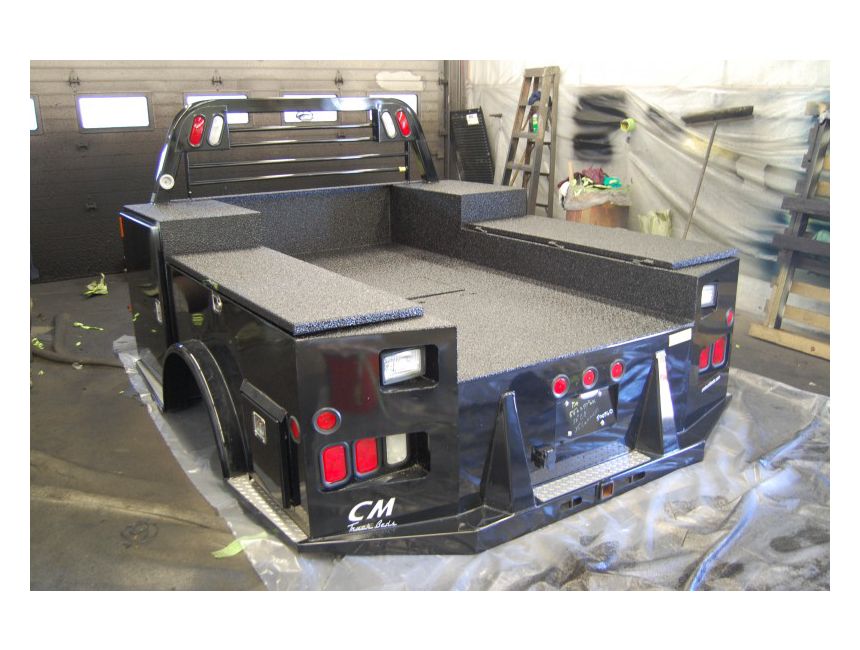
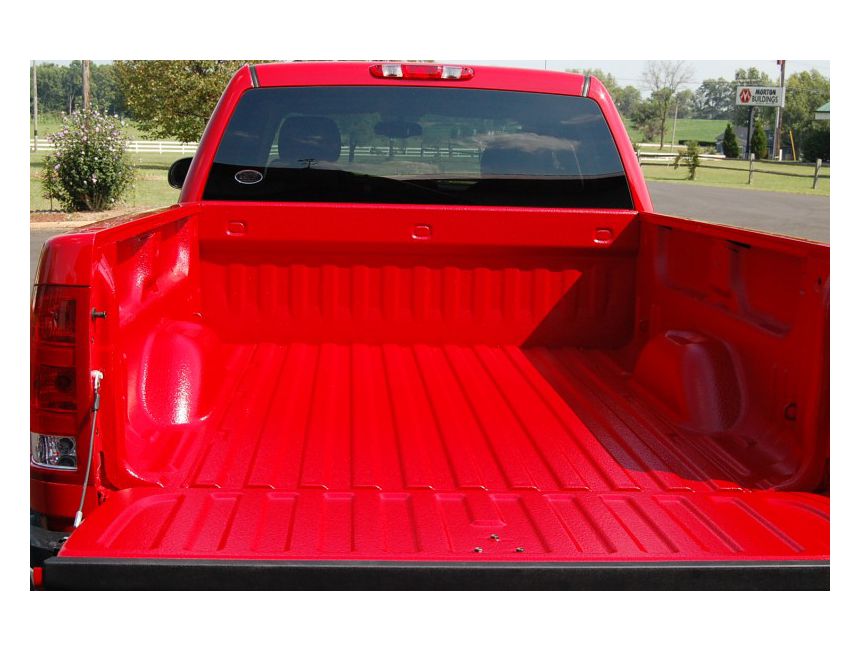
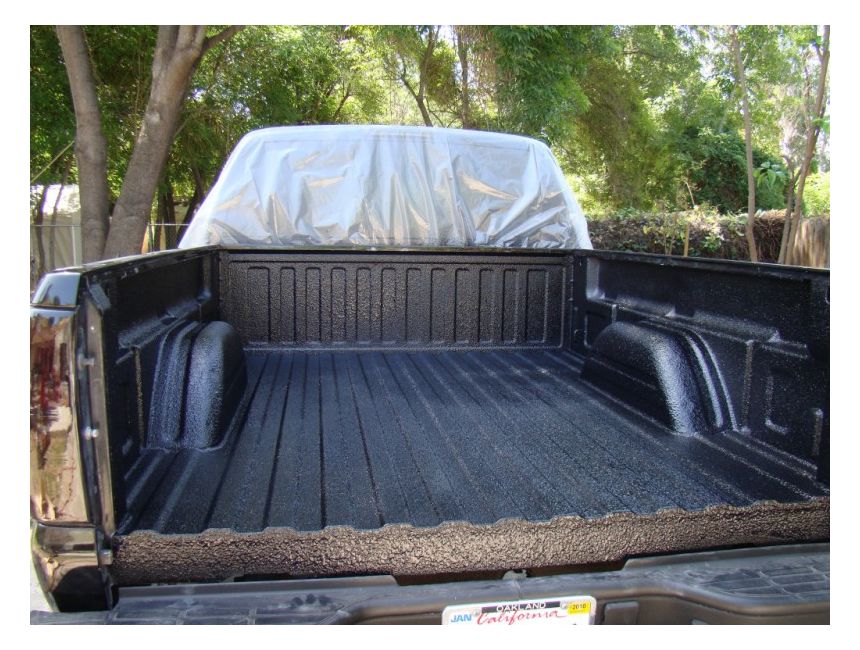
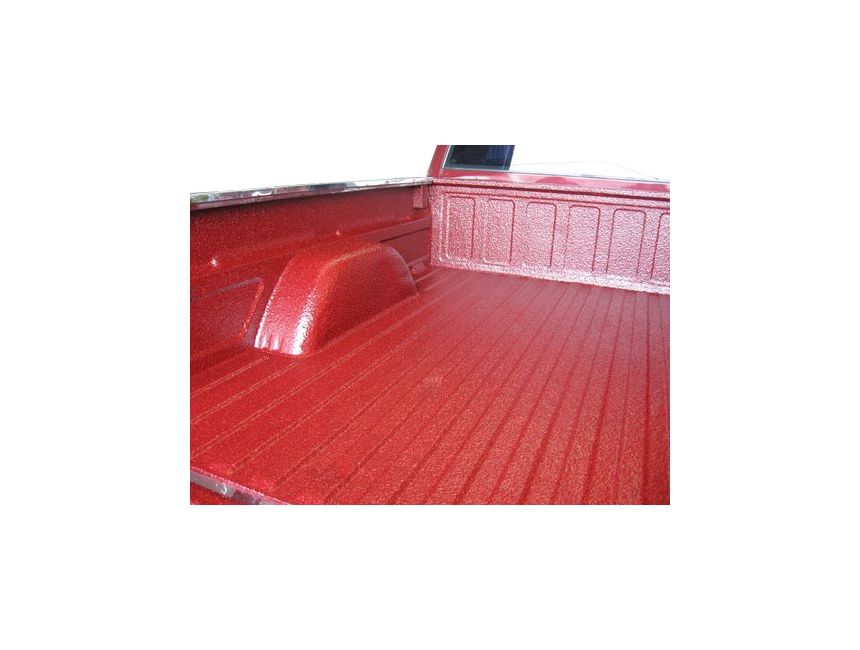
Al's Liner is a full do-it-yourself spray on bed liner. This urethane/acrylic liner system is the single best DIY kit on the market offering unmatched coverage and protection. Al's liner is a 3 part system that was developed from on of the leading industrial protective coatings on the market. It's not a reduced formula like many roll on applications, giving users the option to spray Al's Liner as thick or thin as they need in virtually any texture they desire.
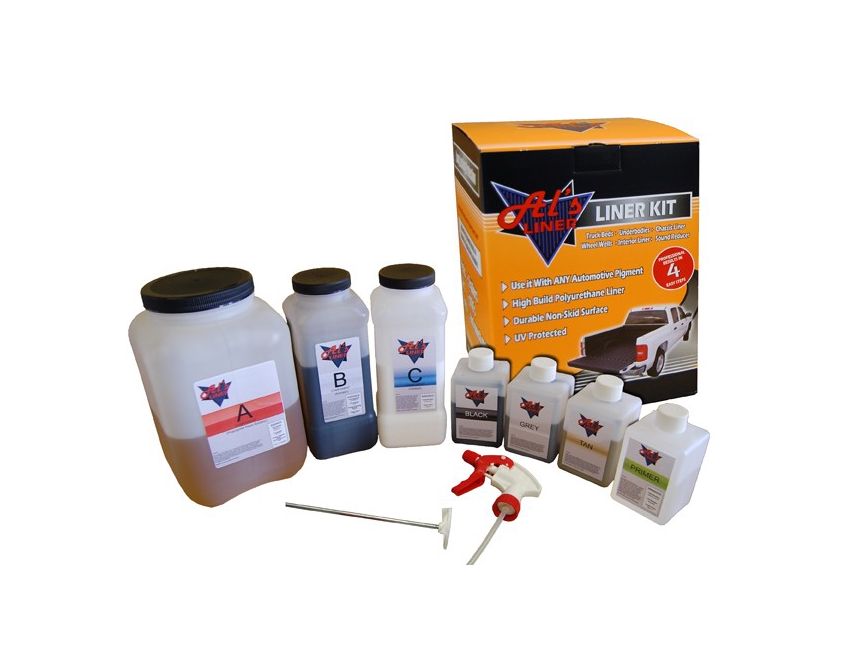
Al's liner spray on bedliner kits come with everything needed prep and apply the product including the 3 mixing components, primer, color, and a mixing paddle. Users can choose from 3 colors (including black, grey or tan). The optional spray gun features 5 ports and is highly recommended to ensure even coverage and desired texture. Al's Liner easy 4 step process is perfect for do-it-yourself, at home applications. It doesn't require a spray booth and minimal personal protection is required. Make the process even easier with a roller or brush which are sold separately.
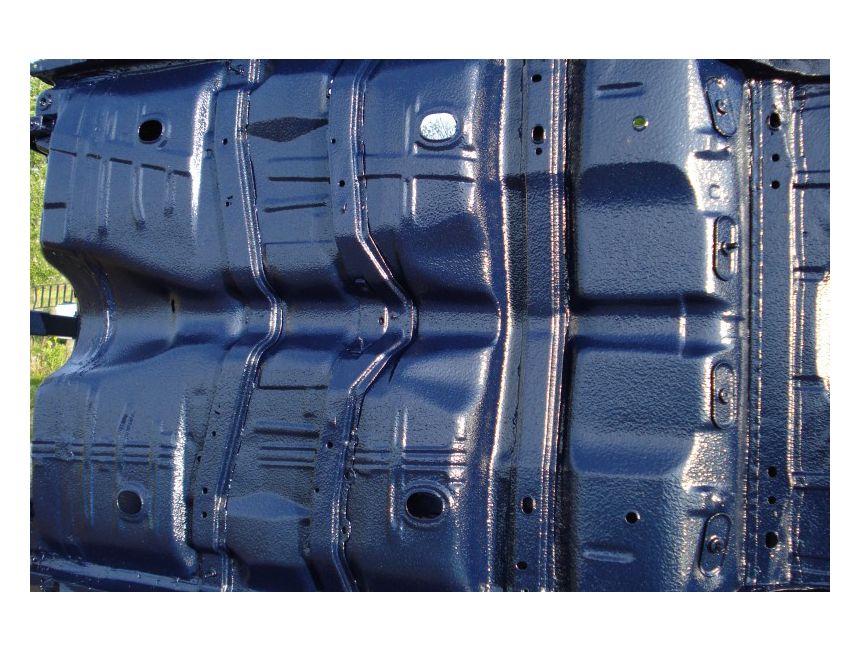
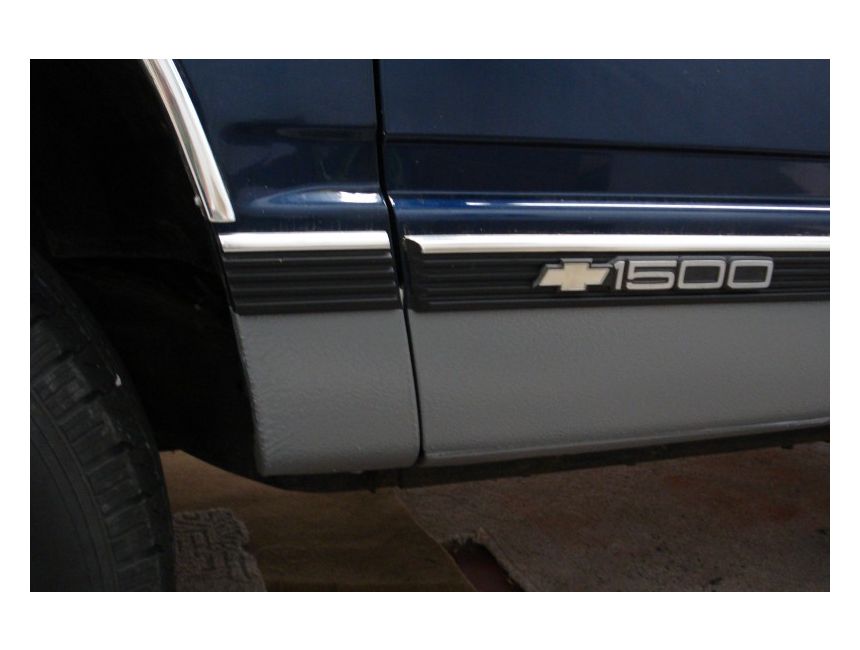
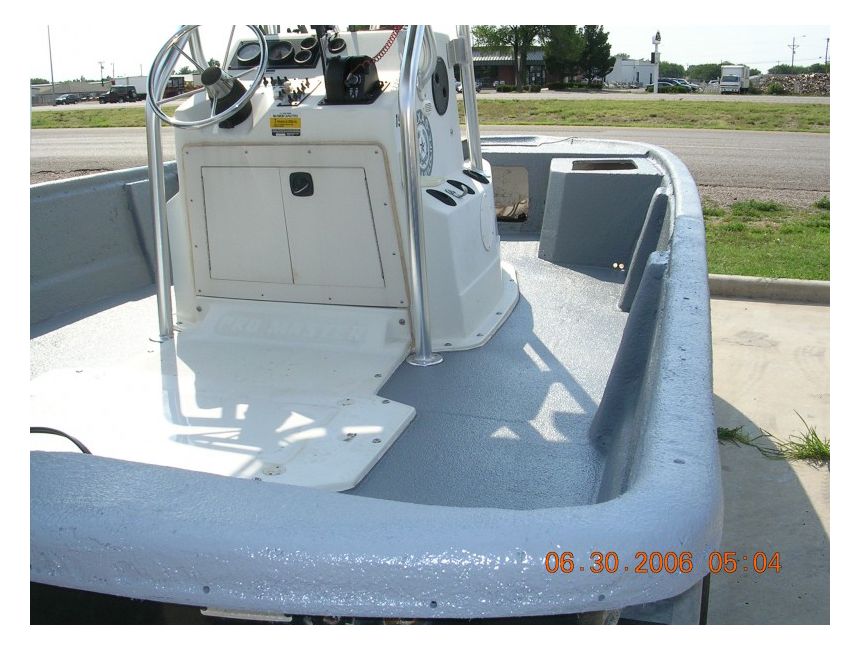
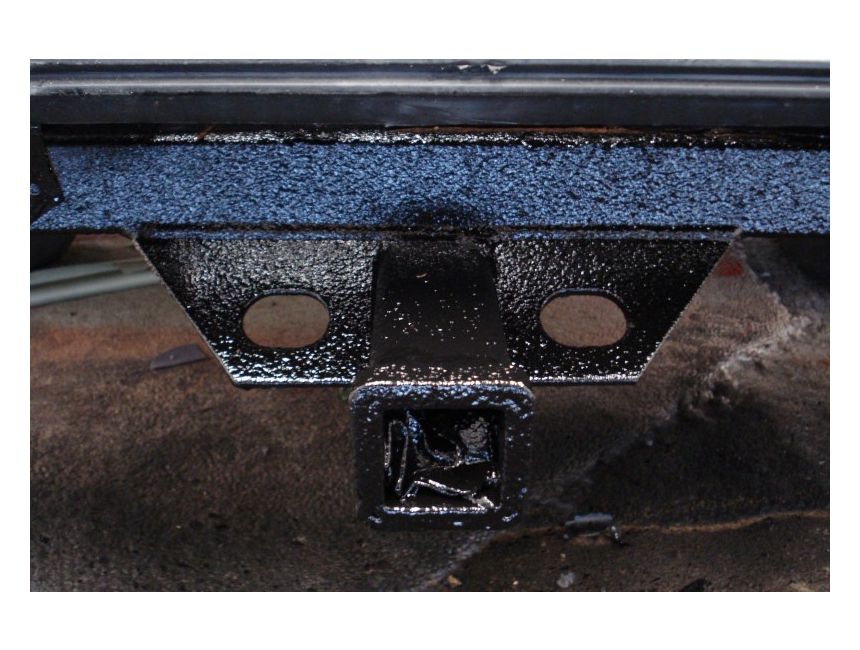
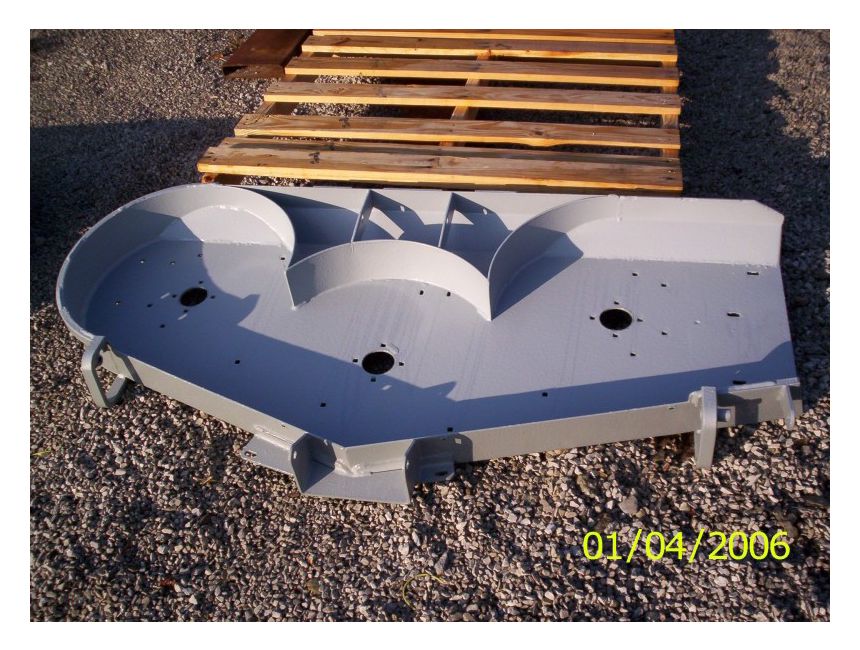
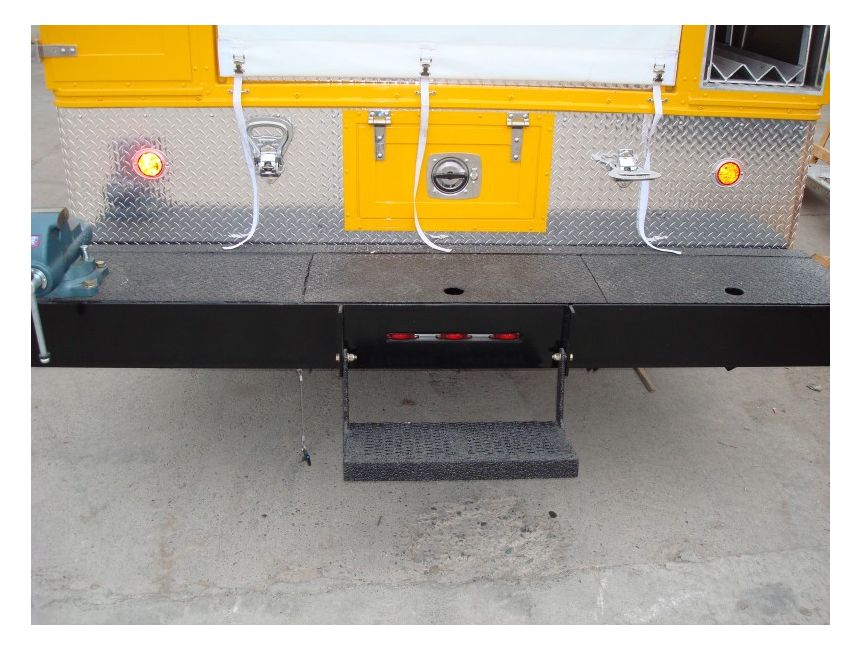
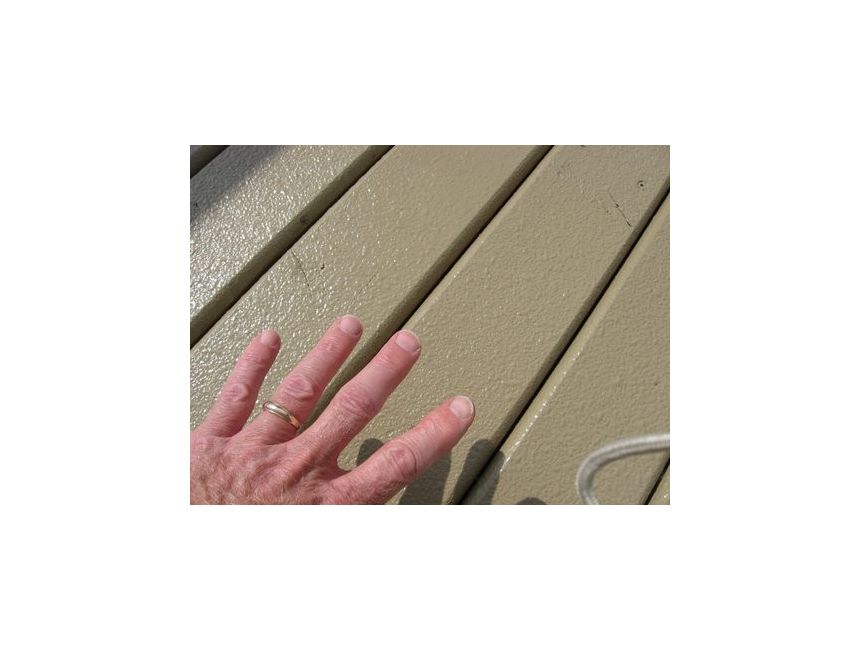
Even though it's intended to be used as a spray in bed liner, Al's Liner is also perfect for endless other uses. It can be used as an underbody sealer, rocker panel protection, walkways and decks, or any other place that heavy duty protection and/or traction are needed. With proper preparation the Al's Liner system will offer years of trouble free use and protection against the elements and heavy duty use. It's also backed by a Lifetime Warranty.


| Brand | Al's Liner |
details
Specifications
Al’s Liner Mixing Chart: Our standard mixing ratio is 2.5 parts A to 1 part B & C. See below for standard mixing ratios and tint ratios. Batch Amounts A Component B Component C Component Tint or Special Pigment 1 Quart 17.5 oz 7 oz 7 oz 1 oz Standard Tint or 2 oz Custom Color 1/2 Gallon 35 oz 14 oz 14 oz 2 oz Standard Tint or 4 oz Custom Color 1 Gallon 70 oz 28 oz 28 oz 4 oz Standard Tint or 8 oz Custom Color Al's Spray Techniques =============================================================== Al's Liner can be applied in various fashions and can have the chemical ratio altered to achieve various textures. Below are our recommendations to achieve the textures and thickness you desire. 1. **Reaching your desired thickness:** Al’s Liner can be effective at various thickness, depending on your application you will not always want the 65 mil application most coating systems talk about. With one gallon of Al’s Liner you will get 20 to 25 mils thickness across a 60 SF area and 60 to 65 mils thickness across a 20 SF area. We have found that the easiest way to determine the depth of your coating, (without out using a mil gauge), is to simply measure out your area to be sprayed and then determine the amount of material needed using the guidelines above, for example. 20SF at 25 mils would require 1/3 gallon of Al’s Liner. Please remember it is simple to make your own mil gauge using a piece of thin sheet metal, cutting it to a point and marking the required depth. This will help novice applicators get the feel for applying an even coat of Al’s Liner. 2. **Achieving Different Textures (Air Flow and Trigger Control):** This will fall into two sections, first being air flow settings and trigger control. When trying to vary the roughness of your texture, the simplest method is to play with your air flow and trigger. You can increase the air flow and reduce the pull on your trigger to break the material into smaller particles and get the rough grainy texture of sand paper. If you want to get an orange peel look or larger clumps that will smooth out during the curing process, reduce the air flow and pull the gun trigger farther to increase the size of the particles sprayed from the tip. You can adjust these settings to fine tune the texture and still maintain the vertical hang of the material. 3. **Achieving Different Textures (Reducing the Catalyzer Mix):** Another method used to vary textures is to reduce the amount of the Chemical Part C that is listed in the mix chart. The catalyzer is what provides the vertical hang in our mixture; it also causes the material to thicken and produces the standard texture you will see. You can cut the Chemical Part C ratio in half and reduce the thickness and increase the cure time of the material allowing for a smoother finish. Using this method and the air flow and trigger methods you can achieve a virtually smooth finish. The down side to reducing Chemical Part C is that you will lose vertical hang and will begin to see sag in the material on vertical applications. To prevent sag, simply reduce the thickness of your applications and apply multiple layers to get the depth you are looking for. With a ½ ratio of Chemical side C we recommend applying no more than 20 mils at one time, allow to set for 10 to 15 minutes and spray the second layer. The material will bond to itself and allow you to get a 65 mil thickness is you so desire. For more tips and tricks to varying texture and thickness feel free to contact us at 800-999-6841. 4. **Adding Metallic Flake or Aggregates to Al's Liner:** Al's Liner excepts a large variety of additives, be it metallic flake for appearance or aggregates for non-skid and traction control. First let's look at Metallic Flakes: the easiest and most affective way to add metallic to your coatings is to spray your base coat with the color of your choice. Then mix a micro batch of natural material and add Ultra Fine Metallic, it is very important to only use Ultra Fine Metallic, an inexpensive place to get this type of flake, believe it or not, is Lure Kraft. They provide Ultra Fine Metallic's for fishing lure makers. The amount of metallic mixed is up to you, you can go with a heavy mix and get a thick layer of metallic or lighten the load for a subtle flake over lay. Mix the micro batch and mist coat the entire area immediately after spraying the base coat. The thin mist coat will bond to the uncured base coat and dry clear to give you a brilliant metallic look. Now let's look at Aggregates: Al's Liner will accept virtually any aggregate, the most popular are sand or pebbles and of course rubber granules. The only restraint is making sure the size of the aggregate is small enough to be sprayed though the port of you Al's Liner Spray Gun. You can find a large variety of sizes and colors at your local TSC Stores or most Hardware Stores. Rubber load is commonly used on trailer gates and floors as well as decks and entry ways, it provides a non-skid additive and is not rough on bare feet or animals etc. Sand and gravel provide a similar non-skid additive but can be hard to the touch. Our recommendation for aggregate mixture would be a 25% mix, so if you are mixing 1 gallon of Al's, we recommend approximately 4 cups of rubber granules for more information of metallic or aggregates, feel free to email us at info@alsliner.cim or call or Tech Line at 800-999-6841. **Al's Cleaning Recommendations** Al's Liner can be easily cleaned from the substrate and from the application gun. Below are our recommendations for cleaning spills, over spray and left over material in your spray gun. 1. **Cleaning up over spray or spilled material:** Al’s Liner can be cleaned in a couple of different ways. The easiest and recommended manner of cleaning up over spray or spilled material is to wipe the material up using denatured alcohol and any type of cloth that suits the surface you are wiping. This will remove the coating prior to it setting up and prevent you from having to scrape the dried material. If you have a spill or over spray on a finish surface, it should peel off once it has set up but be careful, Al's will adhere to scuffs and scratches that you might not see. We recommend getting the material off before it sets up. 2. **Cleaning your Al's Liner Spray Gun:** Cleaning your Al's Liner Spray Gun is as simple as it gets, before pouring material into the Al's Liner hopper gun, spray inside of gun and hopper with a non-silicone mold release or simply wipe in a fine layer of vaseline, once you have finished with your application, turn the gun up side down in a bucket or on a disposable surface and allow excess material to drain out of the hopper. Allow the left over material to set up for 6 to 24 hours and then simply dismantle the gun and remove the hardened material. If you are continually spraying the same color, there is no need to clean the gun between batches, as long as you don't let the material harder between spraying. If you do need to switch colors and the gun has wet material left, pour some denatured alcohol in to the reservoir to break down the remaining material. Pour out the alcohol and dismantle the gun cleaning each part to insure no contamination of the new color.
install
The Al's Liner DIY Spray In Truck Bed Liner can be done right in your own driveway! For additional information call us.
warranty
Al's Liner is offering a limited lifetime warranty on the Do It Yourself Spray On Bed Liner.
