Free Shipping on Orders Over $100
2000 Toyota RAV4 Truck Emblems & Badges
Only display items that ship the quickest
Benefits of Emblems & Badges
Aftermarket badges and emblems are a cost-effective yet eye-catching modification, significantly altering your ride’s aesthetics without draining your bank account. Whether you’re replacing your ride’s factory emblems or adding to its existing collection, emblems and badges are the perfect detail when customizing the exterior of your truck, Jeep, or SUV.
At RealTruck, we offer a wide selection of aftermarket emblems and badges, ranging from factory-inspired, direct-replacement, illuminated badges to 3D, chrome variants of your favorite sports team and club logos! These products offer a simple, drill-free installation, nearly identical to slapping on a bumper sticker; however, they’re far more stylish and professional-appearing.
Chrome badges, like the FanMats NBA Emblems, are the perfect addition to any ride, especially those outfitted with other lustrous chrome accessories!
LED Emblems
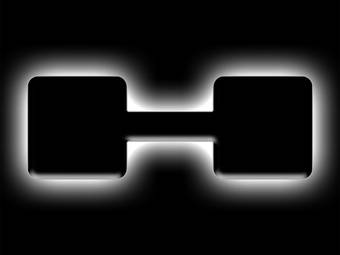
We offer numerous emblem styles, including LED-illuminated emblems and badges for several makes and models! These striking emblems, like Recon Illuminated Fender Emblems, adhere to your ride’s OE styling while adding much-needed flair to the body. When powered by a 12V ignition source from your vehicle, these badges illuminate with easily discernible text.
We offer LED badges in various finishes and illumination colors, including black and chrome badging and red, white, or amber illumination. Not only do LED badges add styling to your ride, but also visibility, serving as additional marker lights in low-light conditions. For more lighting solutions, check out our selection of accessory lighting.
Installing Emblems & Badges
While some exceptions exist, most emblems and badges offer simple, peel-and-stick installations.
Determine the placement, ensuring the area is flat and large enough to accept the emblem.
Note: If you’re replacing an existing emblem, utilize a heat gun or hair dryer to soften the existing adhesive. Then, separate the emblem from the body using a high-strength fishing line or dental floss. Finally, remove the leftover adhesive with a rubber eraser wheel or paint-safe solvent.
Clean and prep the application area; if your emblems did not include alcohol prep pads, thoroughly clean the area with isopropyl alcohol.
Note: Adhesive strength will be significantly compromised without the proper preparation.
Once the application area is dry, peel the adhesive backing from the emblem and align it with your vehicle’s body.
Once you’ve determined the proper orientation, press the emblem firmly in place for approximately 30 seconds, ensuring an adequate bond.
If your emblem features no additional wiring or hardware, installation is finished!
